Retouching Your Portraits
Choose one of the following sample images to retouch in today's Lightroom Lesson.
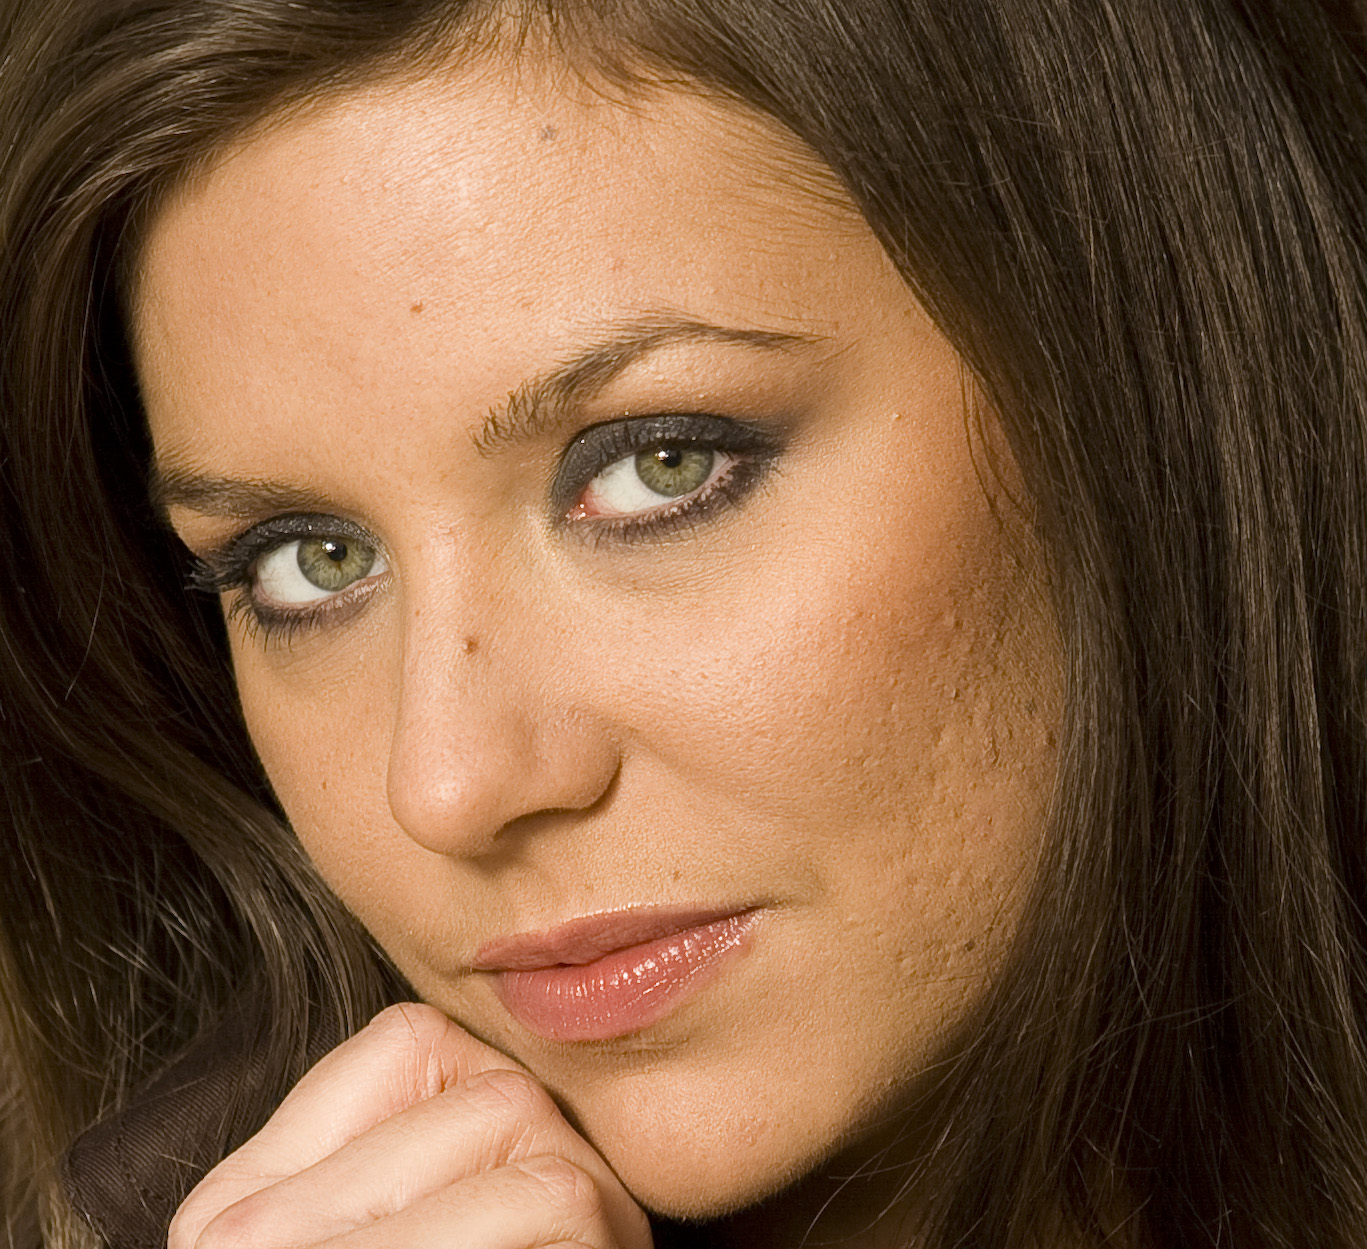
Using Adobe Lightroom to Retouch your Portraits.
DIGITAL PHOTO 11
ADOBE LIGHTROOM TIPS:
Shortcuts that you should MEMORIZE:
S-spacebar-brings up the hand tool so you can zoom around your image
K-Adjustment Brush
Q-Spot Removal Tool
O-toggles the red overlay on or off when working with adjustment brush
R-brings up the Crop Tool
PORTRAIT RETOUCHING TECHNIQUES
**Any time you are making a NEW adjustment, click on the new button. You can toggle the edit pins to show ALWAYS, NEVER AND AUTOMATIC. USE THIS.
1. Use the Spot Removal Tool(Q) to remove blemishes
2. Use the Adjustment Brush( K) to soften areas of the skin. Make sure you select soften skin from the drop down menu in the adjustment brush panel.
3. Use the Adjustment Brush( K) to select the whites of the eyes. bring up the exposure on the eyes.
4. Use the Adjustment Brush( K) to select the irises. Bring up the contrast, highlights and sharpen the irises.
5. Use the Adjustment Brush( K) to lightly brush over the highlights of bone structure(with more exposure) and to emphasize the shadows(with less exposure)pay attention to cheekbones, jaw and eyebrow.